Solar Maintenance Guide
Solar Earthing Fault Troubleshooting
Find the likely cause, check the right points first, and know when a rooftop issue needs a repair, not guesswork.
Fault checks that make sense
Start with the symptoms, not the guesswork
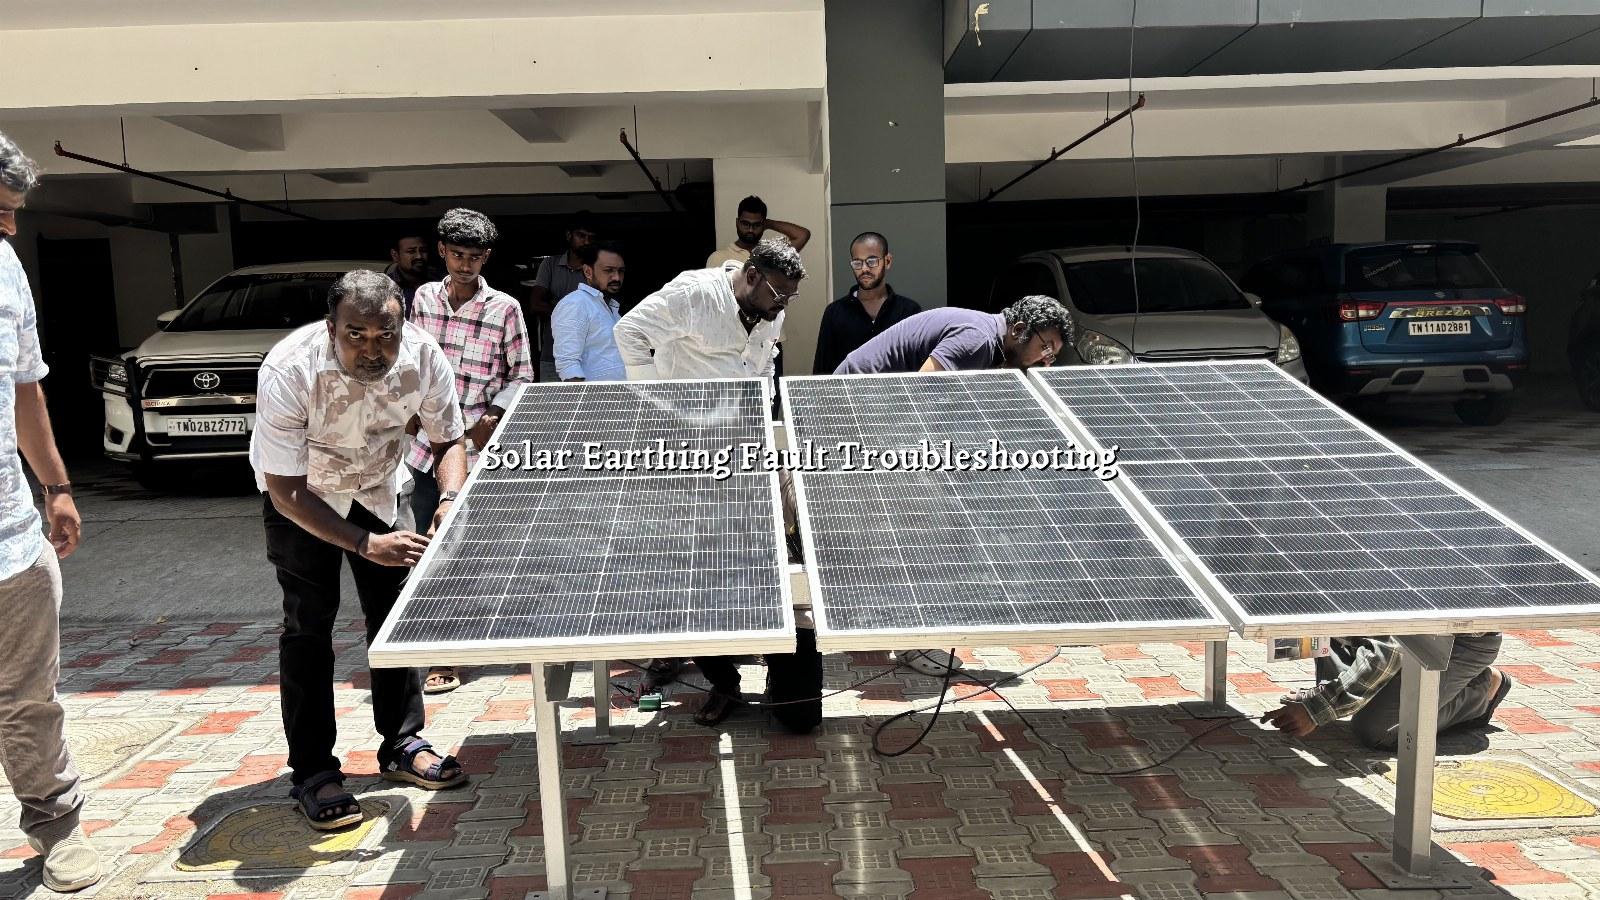
Solar earthing fault troubleshooting usually starts the moment a customer notices something odd and can't quite explain it. The inverter may throw a warning, a frame may feel different to the touch, or the system may trip after rain. We look at the whole path from the module frames to the earthing point, because a rooftop fault rarely sits in one neat spot.
In Kottar and nearby parts of Nagercoil, we see a lot of mixed roof conditions: RCC flat roofs, sheet roofs and older tiled roofs with different fixing methods. Add the district's salt-laden air and the monsoon spell, and a small loose bond can turn into a real nuisance. The good news is that many earthing issues are traceable if you follow the right order and don't rush to replace parts before checking the basics.
What we check first
Where the fault usually hides
A proper check is part electrical, part visual and part common sense. We don't begin by changing the inverter unless the earthing path has been ruled out. Most times the problem sits in a loose lug, a bad connection, corrosion on a mounting point or damaged cable insulation near a sharp edge.
Loose or weak bonding points
The first thing we look for is a bond that has worked itself loose. On many rooftop systems the frame, structure, inverter body and earthing conductor should all have a clear path back to ground, but if one clamp is not tight the fault may show up as intermittent tripping. That sort of issue can be missed by a quick glance because it still looks connected.
On houses in and around Ozhuginasery, we have seen hardware that looked fine from the roof but had oxidation underneath the clamp. The fix may be as simple as cleaning the contact point, re-seating the lug and checking torque, though we always inspect the rest of the chain before saying it is done.
Corrosion, moisture and damaged insulation
Coastal air matters here. In places like Manavalakurichi and Colachel, salt can settle on hardware and cable ends, and once moisture gets in the contact quality drops fast. The monsoon makes that worse if a junction box lid is not sealed properly or if a cable route holds water.
Damaged insulation is another quiet offender. A cable that rubs against a metal edge or sheet roof can look healthy from the side but still leak fault current under load. We check for black marks, brittle sheath, pinched bends and signs that a cable tie has cut into the jacket over time.
- Switch off safely. If the inverter is alarming or the frame feels unusual, stop the system and avoid touching exposed conductors.
- Inspect the visible earthing path. Check the frame bonds, inverter earth terminal, main cable route and the earthing pit connection.
- Look for moisture and corrosion. Salt deposits, greenish oxidation and water stains often point to the real issue.
- Test the affected section. A technician can isolate whether the fault is at the array, the inverter side or the grounding point.
- Repair the weak point. Clean, tighten, replace or reroute the part that has failed, then recheck the whole path.
Why the district changes the approach
Local roofs, wind and water change the way faults show up
Kanyakumari District gets strong sun through the year, which is good for generation, but wind loading is another story. In exposed parts of Thovalai and Boothapandi, mounting hardware can work loose faster if the structure was chosen casually or the installer ignored the local wind pattern. Earthing problems often appear beside fixing problems because both depend on solid metal-to-metal contact.
Agricultural sites add a different set of concerns. A pump feeder at a borewell in Pechiparai or Thiruvattar may face longer cable runs, more damp soil and more movement around the equipment area, so the earthing route needs to be planned with care. The same fault that looks minor in a shop roof can become a repeated nuisance on a farm if water, soil and vibration are all involved.
What an honest inspection should tell you
We tell customers the truth about what we find. If the issue is only a dirty bond, we'll say so. If the earthing conductor is damaged inside a concealed route, we'll point that out too, because patching the visible part and hoping for the best only brings the trouble back. Most people just want the system to behave properly again, not a long story.
In homes at Parvathipuram or Meenakshipuram, a lot of calls start after a storm or after some roof work by another contractor. That timing is not random. Someone has likely lifted a cable, loosened a clamp or disturbed the route, and the fault only becomes obvious once the system is put back under load. And when the fault returns on the next wet day, the hidden part of the route usually tells the story.
A sensible order helps
How a proper troubleshooting visit usually runs
We follow a simple order because earthing faults can waste time if you skip around. One clue leads to the next, and the next check usually tells you whether the fault is on the array side, the inverter side or at the grounding point.
- Hear the symptom first. We ask when the fault started, what the inverter displayed and whether anything changed on the roof before it appeared.
- Walk the visible route. The inspection begins with the frame bonds, structure links, cable runs, terminations and the earth pit if it is accessible.
- Check for contamination. Salt, rust, dust and moisture can all interrupt a connection that once looked solid.
- Isolate the weak section. We separate the problem into a single run, a connection point or a wider wiring issue rather than guessing at the whole system.
- Fix the cause, not only the symptom. If a lug is loose, we correct the joint and check nearby points too, because one failure often hints at another.
This order matters even more on rooftops where the work was done in stages. A lot of systems get modified later for cable length, inverter placement or roof access, and the earth route ends up making a few extra bends nobody planned at the start. Those bends are where water and wear like to gather.
If a customer in Marthandam tells us the fault started after the roof was re-waterproofed, we don't assume the inverter is the problem. We look for disturbed clamps, lifted conduit and spots where sealing compound was cut through. It sounds basic, but basic is often where the answer is hiding.
Quick reference
Common signs, likely causes and what we check
This table isn't a diagnosis for every case, but it helps you recognise the pattern before a service visit. The main job is to separate a simple connection issue from a deeper wiring or grounding problem.
| What you notice | Likely cause | What we check |
|---|---|---|
| Inverter warning or repeated trip | Weak earth path, loose terminal, moisture in a connection | Earth terminal, lug tightness, route condition, signs of water entry |
| Metal frame gives an odd feel | Bonding issue or leakage through a damaged conductor | Frame bond, structure connection, continuity through the earthing path |
| Fault appears after rain | Seepage into a box, conduit or low point in the cable route | Junction boxes, sealing points, cable bends, drainage around the run |
| Problem returns after cleaning | Corrosion deeper than the visible surface | Contact surface under the clamp, cable end condition, hidden oxidation |
| Intermittent issue on windy days | Hardware shift or vibration affecting the bond | Structure fasteners, cable supports, repeat contact at each fixing point |
What you can notice first
Useful clues before the technician arrives
A homeowner doesn't need to open live parts to help with troubleshooting. A few observations are enough to save time during the visit. If you can tell us when the issue started, whether it happened after rain, or whether the inverter only acts up in the evening, we can narrow the search pretty quickly.
- Note any alarm message on the inverter screen, even if it disappears later.
- Look for discoloration around earthing lugs, clamp points or metal edges.
- Check whether the fault began after roof cleaning, painting or cable work.
- See if the problem is worse after a wet spell or strong wind.
- Keep an eye on whether only one part of the array acts up, or the whole system does.
A small clue can save a lot of time. For example, if a customer in Kottar says the system trips only after a night of heavy rain, we focus on moisture paths first instead of jumping straight to replacement parts. That makes the inspection cleaner and usually faster too, though not every fault turns out neat on the first pass.
We've had more than one case where the visible issue was just a stain, but the real problem was water tracking through a conduit and weakening a joint far away. So if the pattern keeps coming back, don't assume it's random. It usually isn't.
How JRS SunTech Energy can help
How JRS SunTech Energy can help
We handle solar earthing fault troubleshooting as part of our service and maintenance work across Nagercoil and Kanyakumari District. Our team checks the grounding path, inverter side, module frame bonds and the visible cable route, then tells you plainly what needs cleaning, tightening, replacement or rerouting. If the same system also needs a broader inspection, we can look at that in one visit rather than sending you in circles.
We provide one year of free service support after installation, and after that we still stay available for technical assistance. If your rooftop system was installed by another company, that's fine too. Contact us at JRS SunTech Energy, Door No. 227, First Floor, Cape Road, St. Xavier's Church Junction, Kottar, Nagercoil, Kanyakumari District, Tamil Nadu - 629002, phone 9787775999, WhatsApp +919787775999, email jrssuntechenergy@gmail.com.
Frequently asked
Questions we hear about solar earthing fault troubleshooting
A fault often shows up as nuisance tripping, inverter alarms, shocks from metal parts, or readings that do not stay steady during inspection. Sometimes it is only a loose clamp or a corroded joint, and sometimes the trouble sits in a hidden conductor along the roof route.
Start with the earth connection at the inverter, the module frames, the mounting structure and the main earthing pit. We also look for salt build-up, damaged insulation, bad lugs and places where water has entered a junction box or conduit.
Yes. Strong wind, salty air and monsoon moisture can slowly loosen hardware or corrode contact points. A system can look fine from outside and still have a weak bond somewhere in the route.
Yes, we do. We inspect the issue, explain what is actually wrong and then fix the electrical connection, replace worn parts or clean and re-secure the affected points.
If you notice heat, burning smell, visible damage or repeated tripping, switch it off and call for service rather than opening anything yourself. Earthing problems can involve live parts and hidden faults, so it is better to let a technician check it properly.
A quick visual check is wise after heavy rain, strong wind or any roof work. For a fuller check, many owners prefer to include earthing in routine solar maintenance so small corrosion or loosening is caught before it turns into a larger problem.
Hurry up!Subsidy ends 31 March 2027 · 134 days left
Next step
Need a proper earthing check for your solar system?
Send us the inverter issue, the roof type and a clear photo if you have one, and we will tell you the next step.
- Your electricity requirement and 60-day EB bill
- Property type — home, shop, office, farm or institution
- Backup requirement and available roof space
Related: Solar Maintenance · FAQ · Contact
Free site survey · Kottar, Nagercoil